ARC Raiders - Bombardier Guide: Spawn Locations, Loot and How to Kill

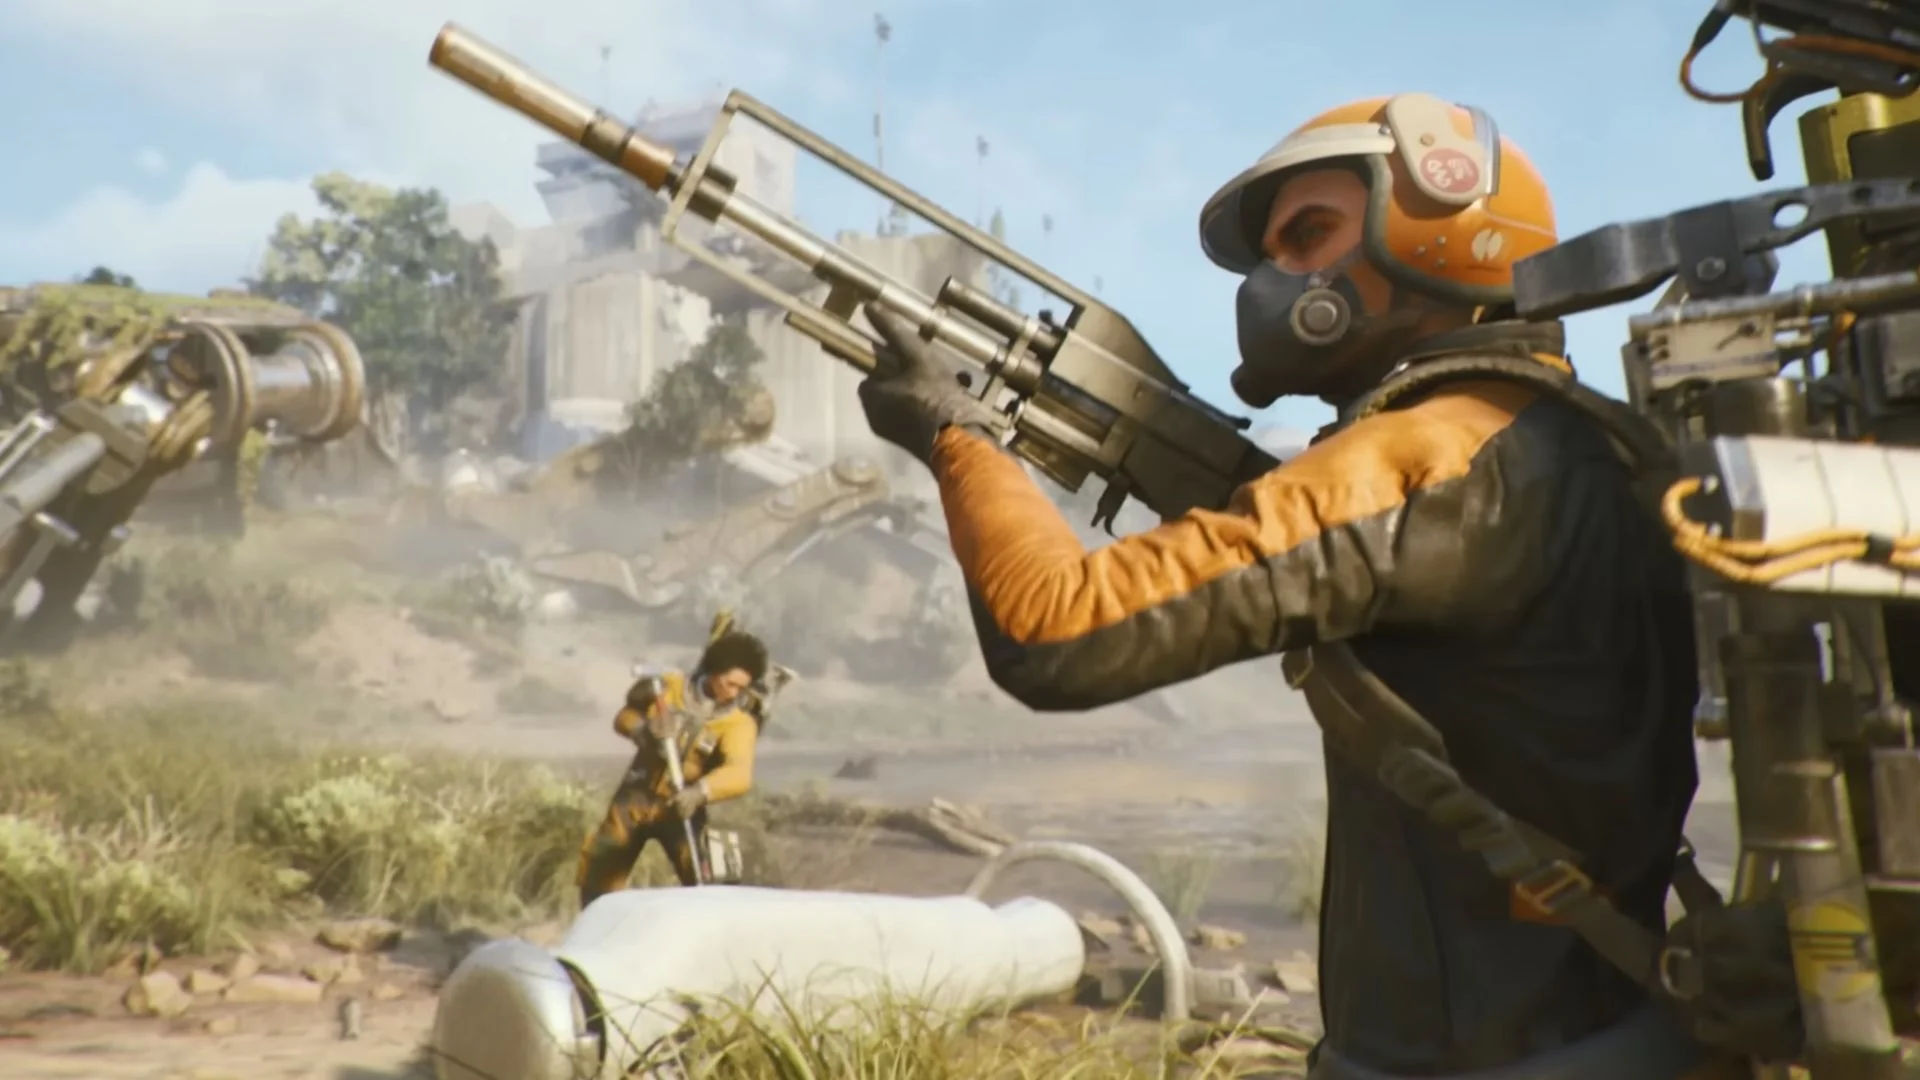
Arc Raiders is a dangerous world where every encounter can be deadly, and few enemies instill as much fear as the Bombardier. This massive, light-blue-and-white ARC machine is accompanied by flying Spotter drones that mark your location, allowing the Bombardier to launch precise, lethal mortar rounds. One wrong move and your team could end up in the infirmary. Facing a Bombardier is not just a fight it’s a test of strategy, positioning, and timing.
Understanding the Bombardier
The Bombardier is a critical-level ARC machine designed to eliminate Raiders with precision artillery. Here’s what makes it unique:
Primary Attack: Mortar rounds that track moving targets and thread through narrow openings.
Supporting Units: Spotter drones that indicate your position, enabling precise targeting.
Weak Points: Yellow kneecaps on all leg joints and a yellow cylinder on its rear. Hitting these weak spots reduces mobility, exposes inner components, and can temporarily stun the Bombardier.
Special Notes: Spotters must be destroyed first to disorient the Bombardier. After firing its artillery, it has a brief downtime, which is your best opportunity to attack.
Despite its deadly range, the Bombardier moves slowly, giving skilled Raiders opportunities to land explosive attacks and precise shots at its vulnerable points.
Bombardier Spawn Locations
Bombardiers appear in set locations, usually accompanied by their Spotters. The Buried City and The Blue Gate are the most common maps, though they occasionally appear in Spaceport or Dam Battleground. Knowing spawn points allows you to plan attacks and maximize loot efficiency.
Map | Location |
|---|---|
Buried City | Outside Hospital |
Buried City | Top of Parking Garage |
Buried City | Near Piazza Roma |
The Blue Gate | Trapper's Glade |
The Blue Gate | Inside Checkpoint |
The Blue Gate | Ruins near Ridgeline |
Spaceport | Near West Elevator |
Spaceport | Outside Shipping Warehouse |
Dam Battleground | North of Hydroponic Dome Complex |
How to Defeat Bombardiers
Defeating a Bombardier requires planning, patience, and a solid loadout. Follow these key strategies:
1. Cover is Key
Always fight from buildings or areas with a closed ceiling and multiple exits.
Rooftops, parking garages, and apartments are ideal for line of sight control and dodging mortar rounds.
2. Destroy Spotters First
Spotters don’t deal damage, but leaving them alive allows the Bombardier to track you accurately.
Eliminate Spotters early to reduce incoming damage and create windows for attack.
3. Start With Explosives
Use Trigger Nades, Blaze Grenades, Wolfpacks, or Snap Nades to damage the Bombardier’s legs or body.
Explosives are especially effective from elevated positions, allowing safe detonation from below.
4. Target Weak Points
After explosives, switch to ARC Armor Penetration weapons.
Focus on yellow leg joints, the back canister, or the exposed internal barrel.
Damaging weak points can temporarily stun the Bombardier, giving you a critical window for damage.
5. Stay Mobile
Dodging is essential. Two mortar hits can destroy a Light Shield, while Medium and Heavy Shields allow 3-4 hits.
Use rolling, jumping, and Snap Hooks to avoid sustained fire.
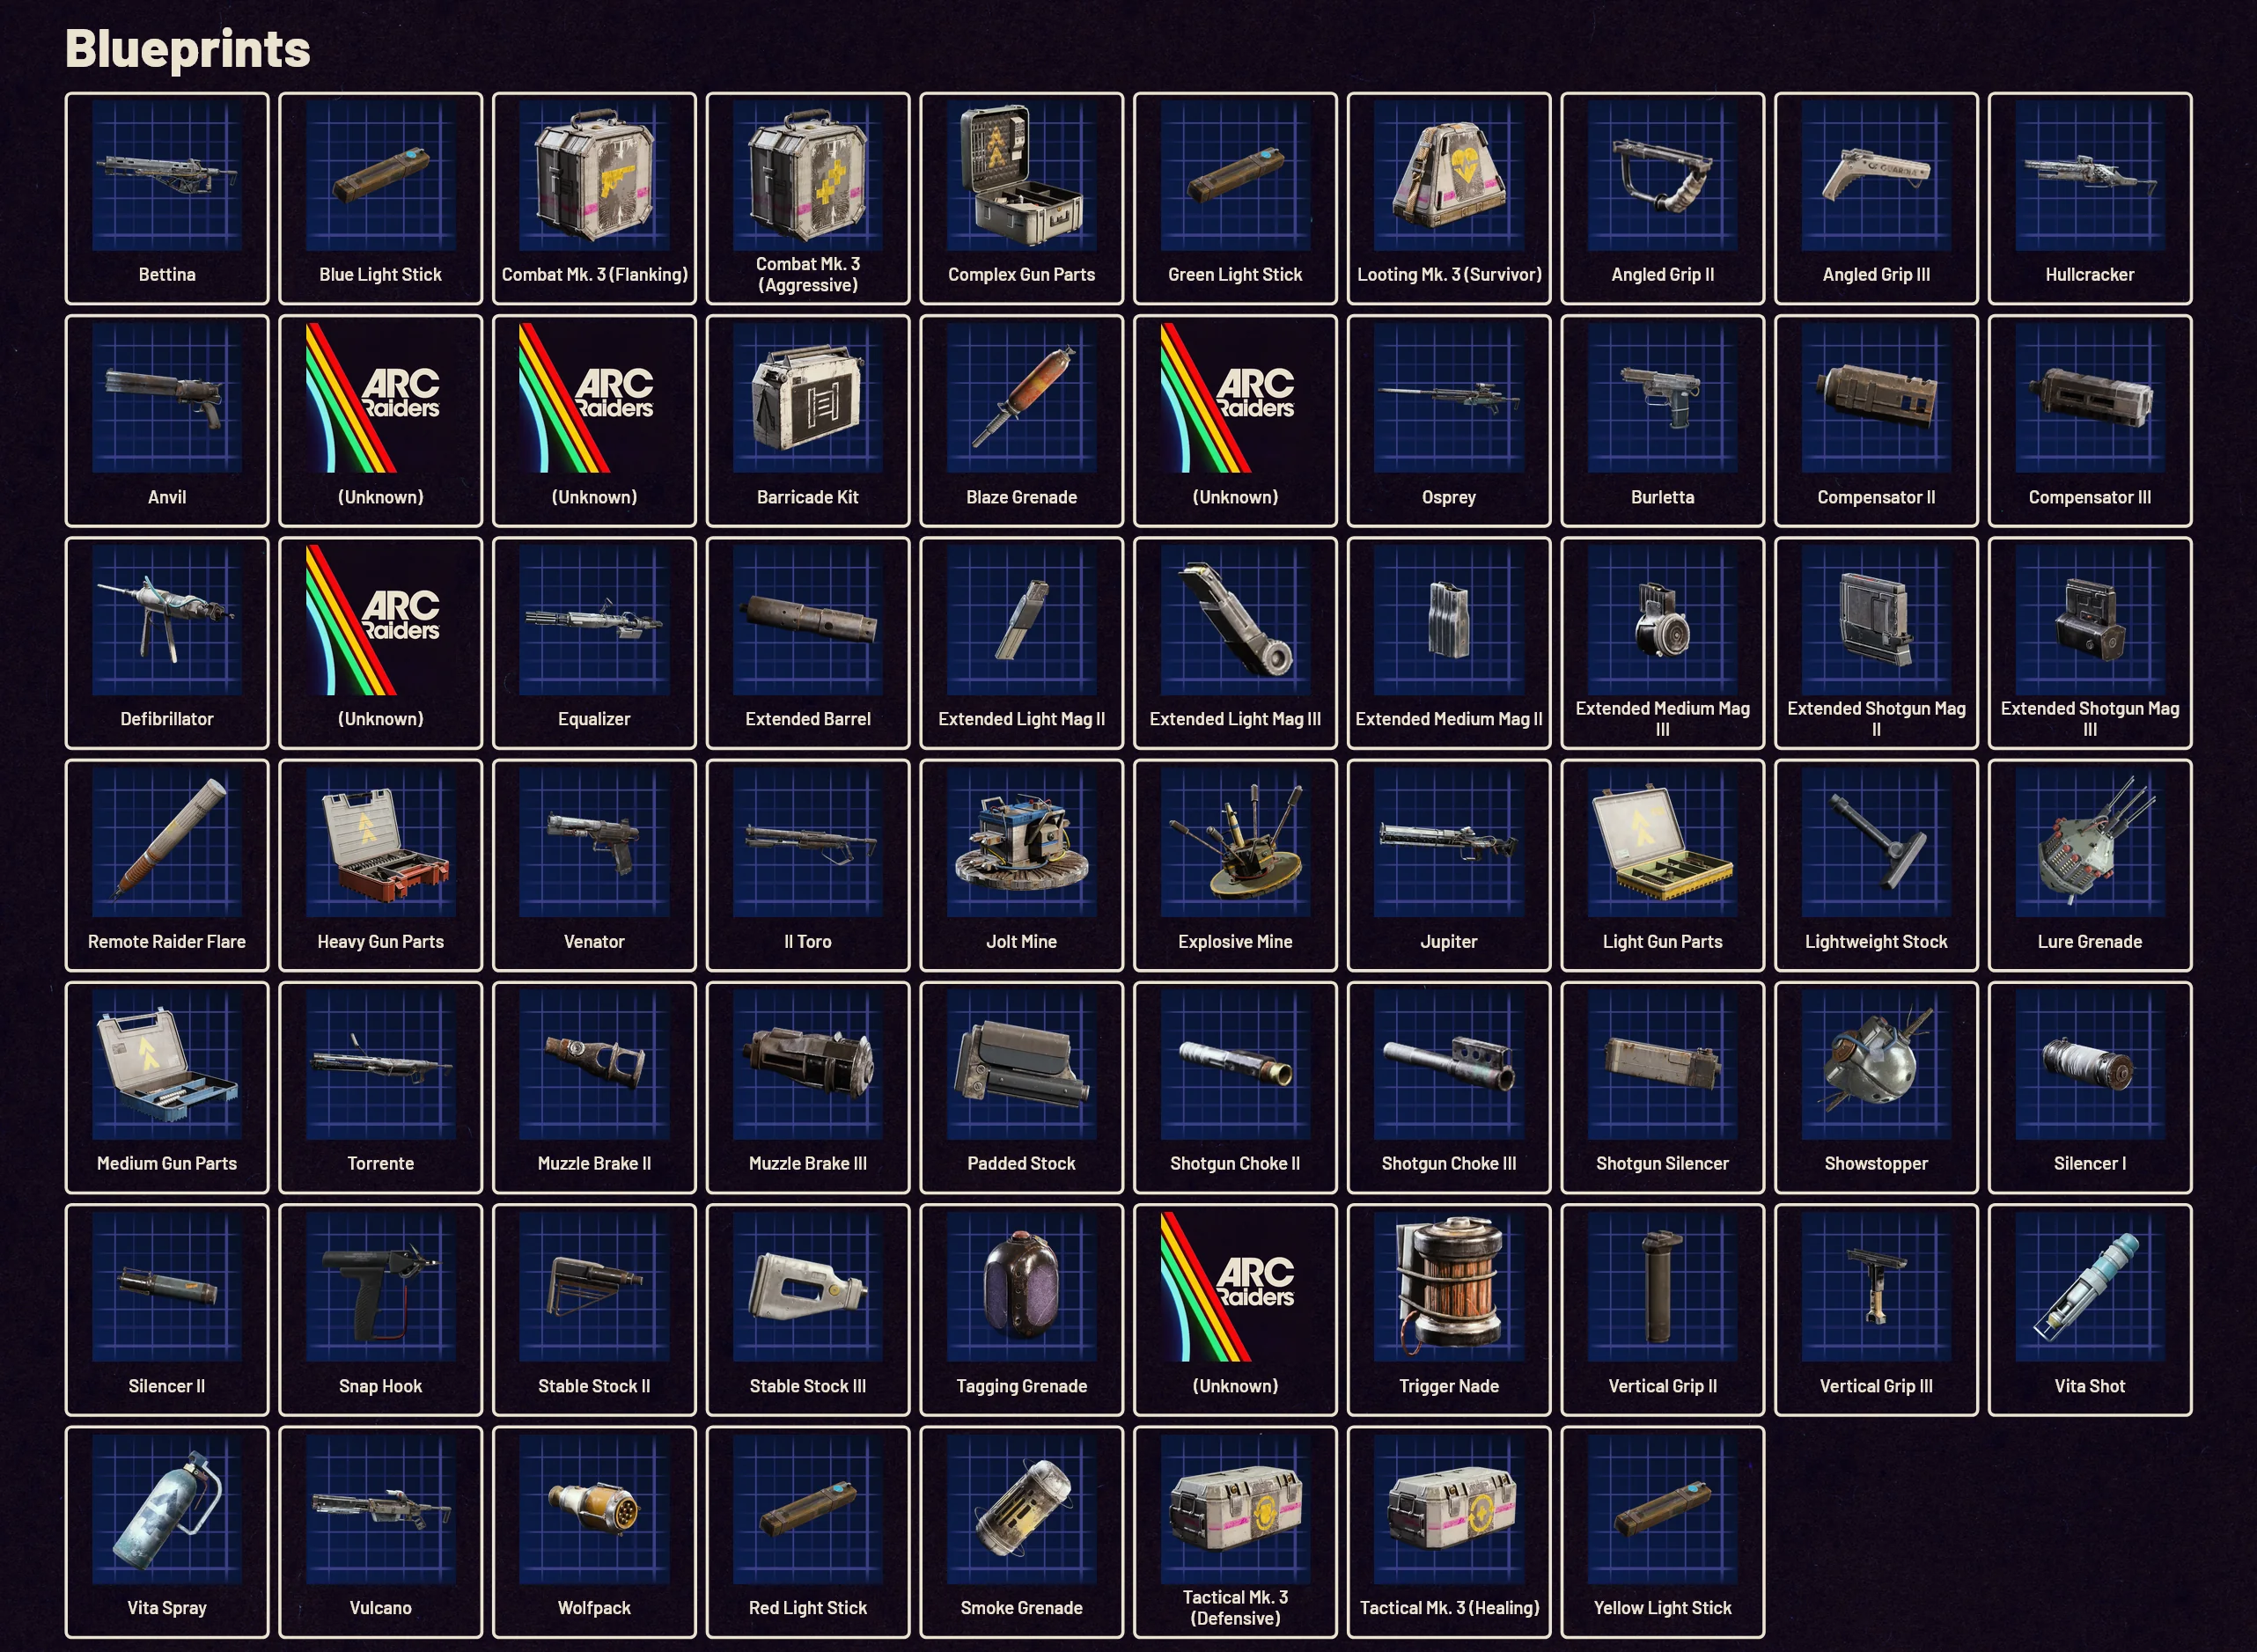
Recommended Weapons
Bombardiers require weapons with moderate to high ARC Armor Penetration:
Weapon Type | Recommended Items | Notes |
|---|---|---|
Primary Weapon | Hullcracker | Highest damage & penetration |
Secondary Weapon | Anvil / Ferro | Backup weapon, cost-effective |
Mid-Range | Venator, Torrente, Rattler, Osprey | Reliable for safe distance attacks |
Explosives | Wolfpack Grenade, Trigger Nade, Blaze Grenade, Snap Nade | Excellent for joints & stunning |
Recommended Loadout
Prepare for sustained combat with the following setup:
Category | Item | Notes |
|---|---|---|
Shield | Heavy Shield | Absorb cannon shots |
Healing | 10 Shield Rechargers | Maintain shields under fire |
Healing | 10 Bandages / 6 Sterilized Bandages | Sustain HP during intense attacks |
Healing | Adrenaline Shots | Restore stamina for dodging & mobility |
Explosives | Trigger Nades / Blaze Grenades | Damage weak points & stun |
Explosives | Wolfpack | High ARC damage, especially on joints |
Gadgets | Snap Hook | Climb onto Bombardier or escape |
Bombardier Loot & Cells
Defeating a Bombardier rewards a mix of general ARC materials and unique Bombardier Cells, essential for upgrading your Refiner or crafting advanced items.
Loot Type | Main Debris | Small Debris |
|---|---|---|
ARC Alloy | YES | YES |
ARC Powercell | YES | YES |
Advanced ARC Powercell | YES | YES |
ARC Performance Steel | YES | YES |
Mechanical Components | YES | YES |
Heavy Gun Parts | YES | NO |
Launcher Ammo | YES | NO |
Bombardier Cell | YES | YES |
Bombardier Cells can be used to upgrade your Refiner to Level III, sold for 5,000 Credits each, or recycled into 2 ARC Alloy + 2 Advanced Mechanical Components per cell.
Tips & Tricks
Always use buildings with multiple exits to kite the Bombardier.
Prioritize destroying Spotters first to reduce incoming fire.
Combine explosives with precise gunfire for faster takedowns.
Focus on weak points to temporarily stun and maximize damage.
Keep backup healing items; the cannon hits hard and can eliminate lightly shielded players quickly.
Final Words
Defeating a Bombardier can be a tough challenge, especially when solo or aiming for maximum loot. If you need assistance, you can hire one of our pro players to join your session and help take down the Bombardier.
Alternatively, use the ARC Raiders Boss Kill service to eliminate any boss quickly, or browse the Marketplace to purchase powerful weapons, explosives, and equipment that make this fight much easier. With the right strategy, positioning, and gear, even the most lethal Bombardiers can be conquered.
You might also like