ARC Raiders - Bastion Guide: Spawn Locations, Loot and How to Kill

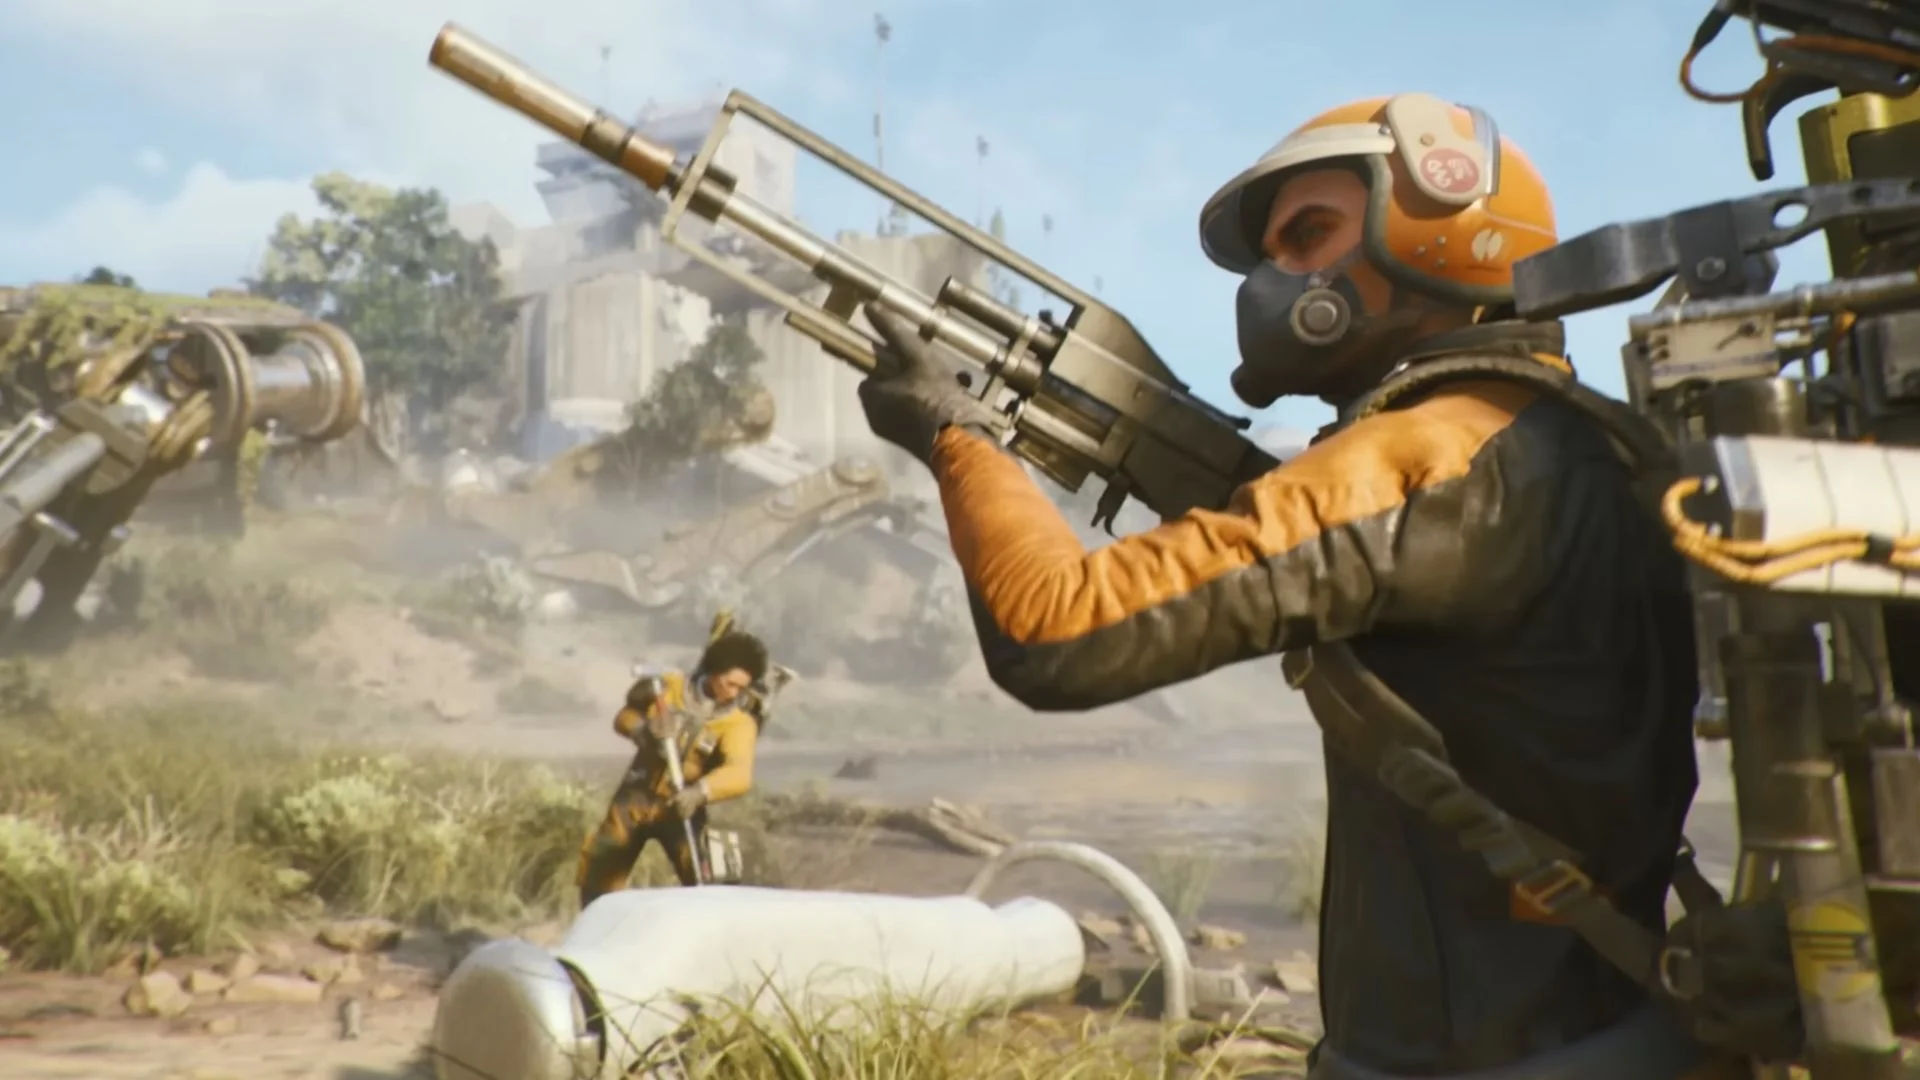
Bastions are among the most dangerous ARC machines you’ll face in ARC Raiders. Imagine a slow-moving walking fortress, covered in thick armor, armed with a minigun capable of turning any Raider into Swiss cheese in seconds. They may look intimidating at first glance, but trust me: once you understand their behavior, attack patterns, and weak points, Bastions become predictable and farmable.
Defeating a Bastion rewards Bastion Cells, which are essential for upgrading your Gear Bench to Level 3. This makes them a must-farm target for any Raider looking to progress efficiently through mid and late game raids. Having spent hundreds of hours topside, I’ll walk you through everything from spawn locations and weapon loadouts to solo strategies, squad tactics, and even advanced “cheese” methods that veteran players swear by.
Bastion Behavior and Attacks
Understanding Bastion mechanics is critical. Their minigun fire is deadly, but predictable once you know the cues:
Minigun Burst: Emits a loud screech before firing a 3 second gatling attack at the last known Raider position. Timing is everything learn to move and peek between bursts.
Weak Points: Yellow leg joints and the rear yellow canister. Hitting these stuns the Bastion, exposing its red core for massive damage.
Avoiding Damage: Stay behind cover, hide in buildings or foliage, and avoid standing directly in its line of sight.
When playing solo, patience and control of the battlefield are key. The best approach is to position yourself inside a building, hallway, or any area with clear exit routes. Once the Bastion completes its minigun burst, you can safely target the yellow leg joints or rear canister, maximizing damage while minimizing risk. Constant movement is crucial even high DPS won’t save you if you stay exposed in the open. Successful solo engagements require timing, precision, and understanding the Bastion’s attack rhythm.
How to Kill Bastion
Step 1: Find Cover
Always start near a doorway, wall, or other structure. Open areas are a death trap against Bastions.
Step 2: Lure & Stun
Attract the Bastion’s attention with a shot. Focus on the yellow leg joints or rear canister to stun it. Destroying the canister exposes the red core the Bastion’s true weak point.
Step 3: Deal Damage
Solo: Take consistent, measured shots from cover using heavy ammo, explosives, or precision weapons.
Squad: Focus fire on the exposed red core after the canister is destroyed for a swift kill.
Step 4: Cheese Methods
Nuclear Approach: Stick Trigger Grenades to the Bastion for near-instant kills. Perfect for high value solo raids with minimal risk.
Stealth Approach: Wait until the Bastion is isolated (typically last 5 minutes on the raid clock), engage quietly, and retreat via the nearest hatch.
Step 5: Optional “Ride & Melee” Trick
Bastions can be climbed using Snap Hooks or careful positioning.
Stunning first with grenades makes this safer.
From the top, melee or weapon attacks can be used. Dealing 50 damage from above unlocks Death From Above.
This technique is a fun pro tip for speed farming and achievement hunting.
Solo Bastion Kill Strategy
If you’re tackling a Bastion solo and want to maximize efficiency, here’s a tried and tested loadout and approach used by PRO Raiders. First, make sure you’re prepared: bring two fire grenades (either Blaze Grenades or Fireball Burners), around 15 Impact Grenades it’s smart to craft or bring a few extras in case some don’t land and a heavy ammo weapon, preferably an Anvil, with at least 60 rounds to finish off the Bastion or handle any unexpected PvP threats. Don’t forget a hatch key for a quick extraction and a Looting Mk2 if you want to optimize resource collection.
Once you’re fully loaded, head to high ground for the best vantage point. Start by tossing the two fire grenades at the Bastion to stagger it and deal initial damage. Then, unload your Impact Grenades directly onto its head or other vulnerable spots. With this method, even solo Raiders can take down a Bastion in under five minutes. The best part? This approach is cost effective the loadout usually runs around 27k, but you can walk away with 80k–100k worth of loot if you collect everything carefully.
With some practice, this strategy becomes second nature, letting you farm Bastion Cells and high value loot quickly while staying safe from other Raiders. Topside is dangerous, but with the right plan, you can dominate.
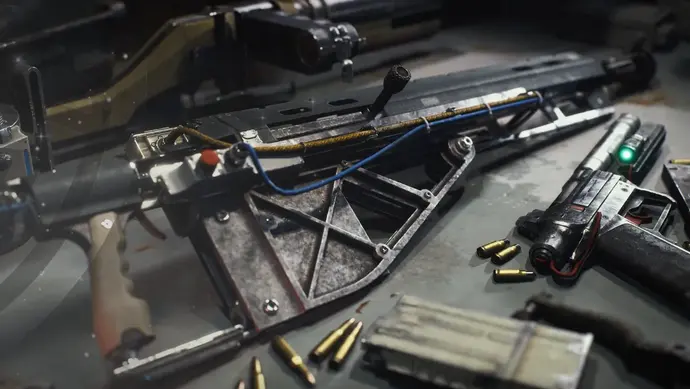
Best Weapons to Kill Bastion
Choosing the right weapon is crucial for efficiently taking down Bastion. Here’s a breakdown of the most effective options and their pros/cons:
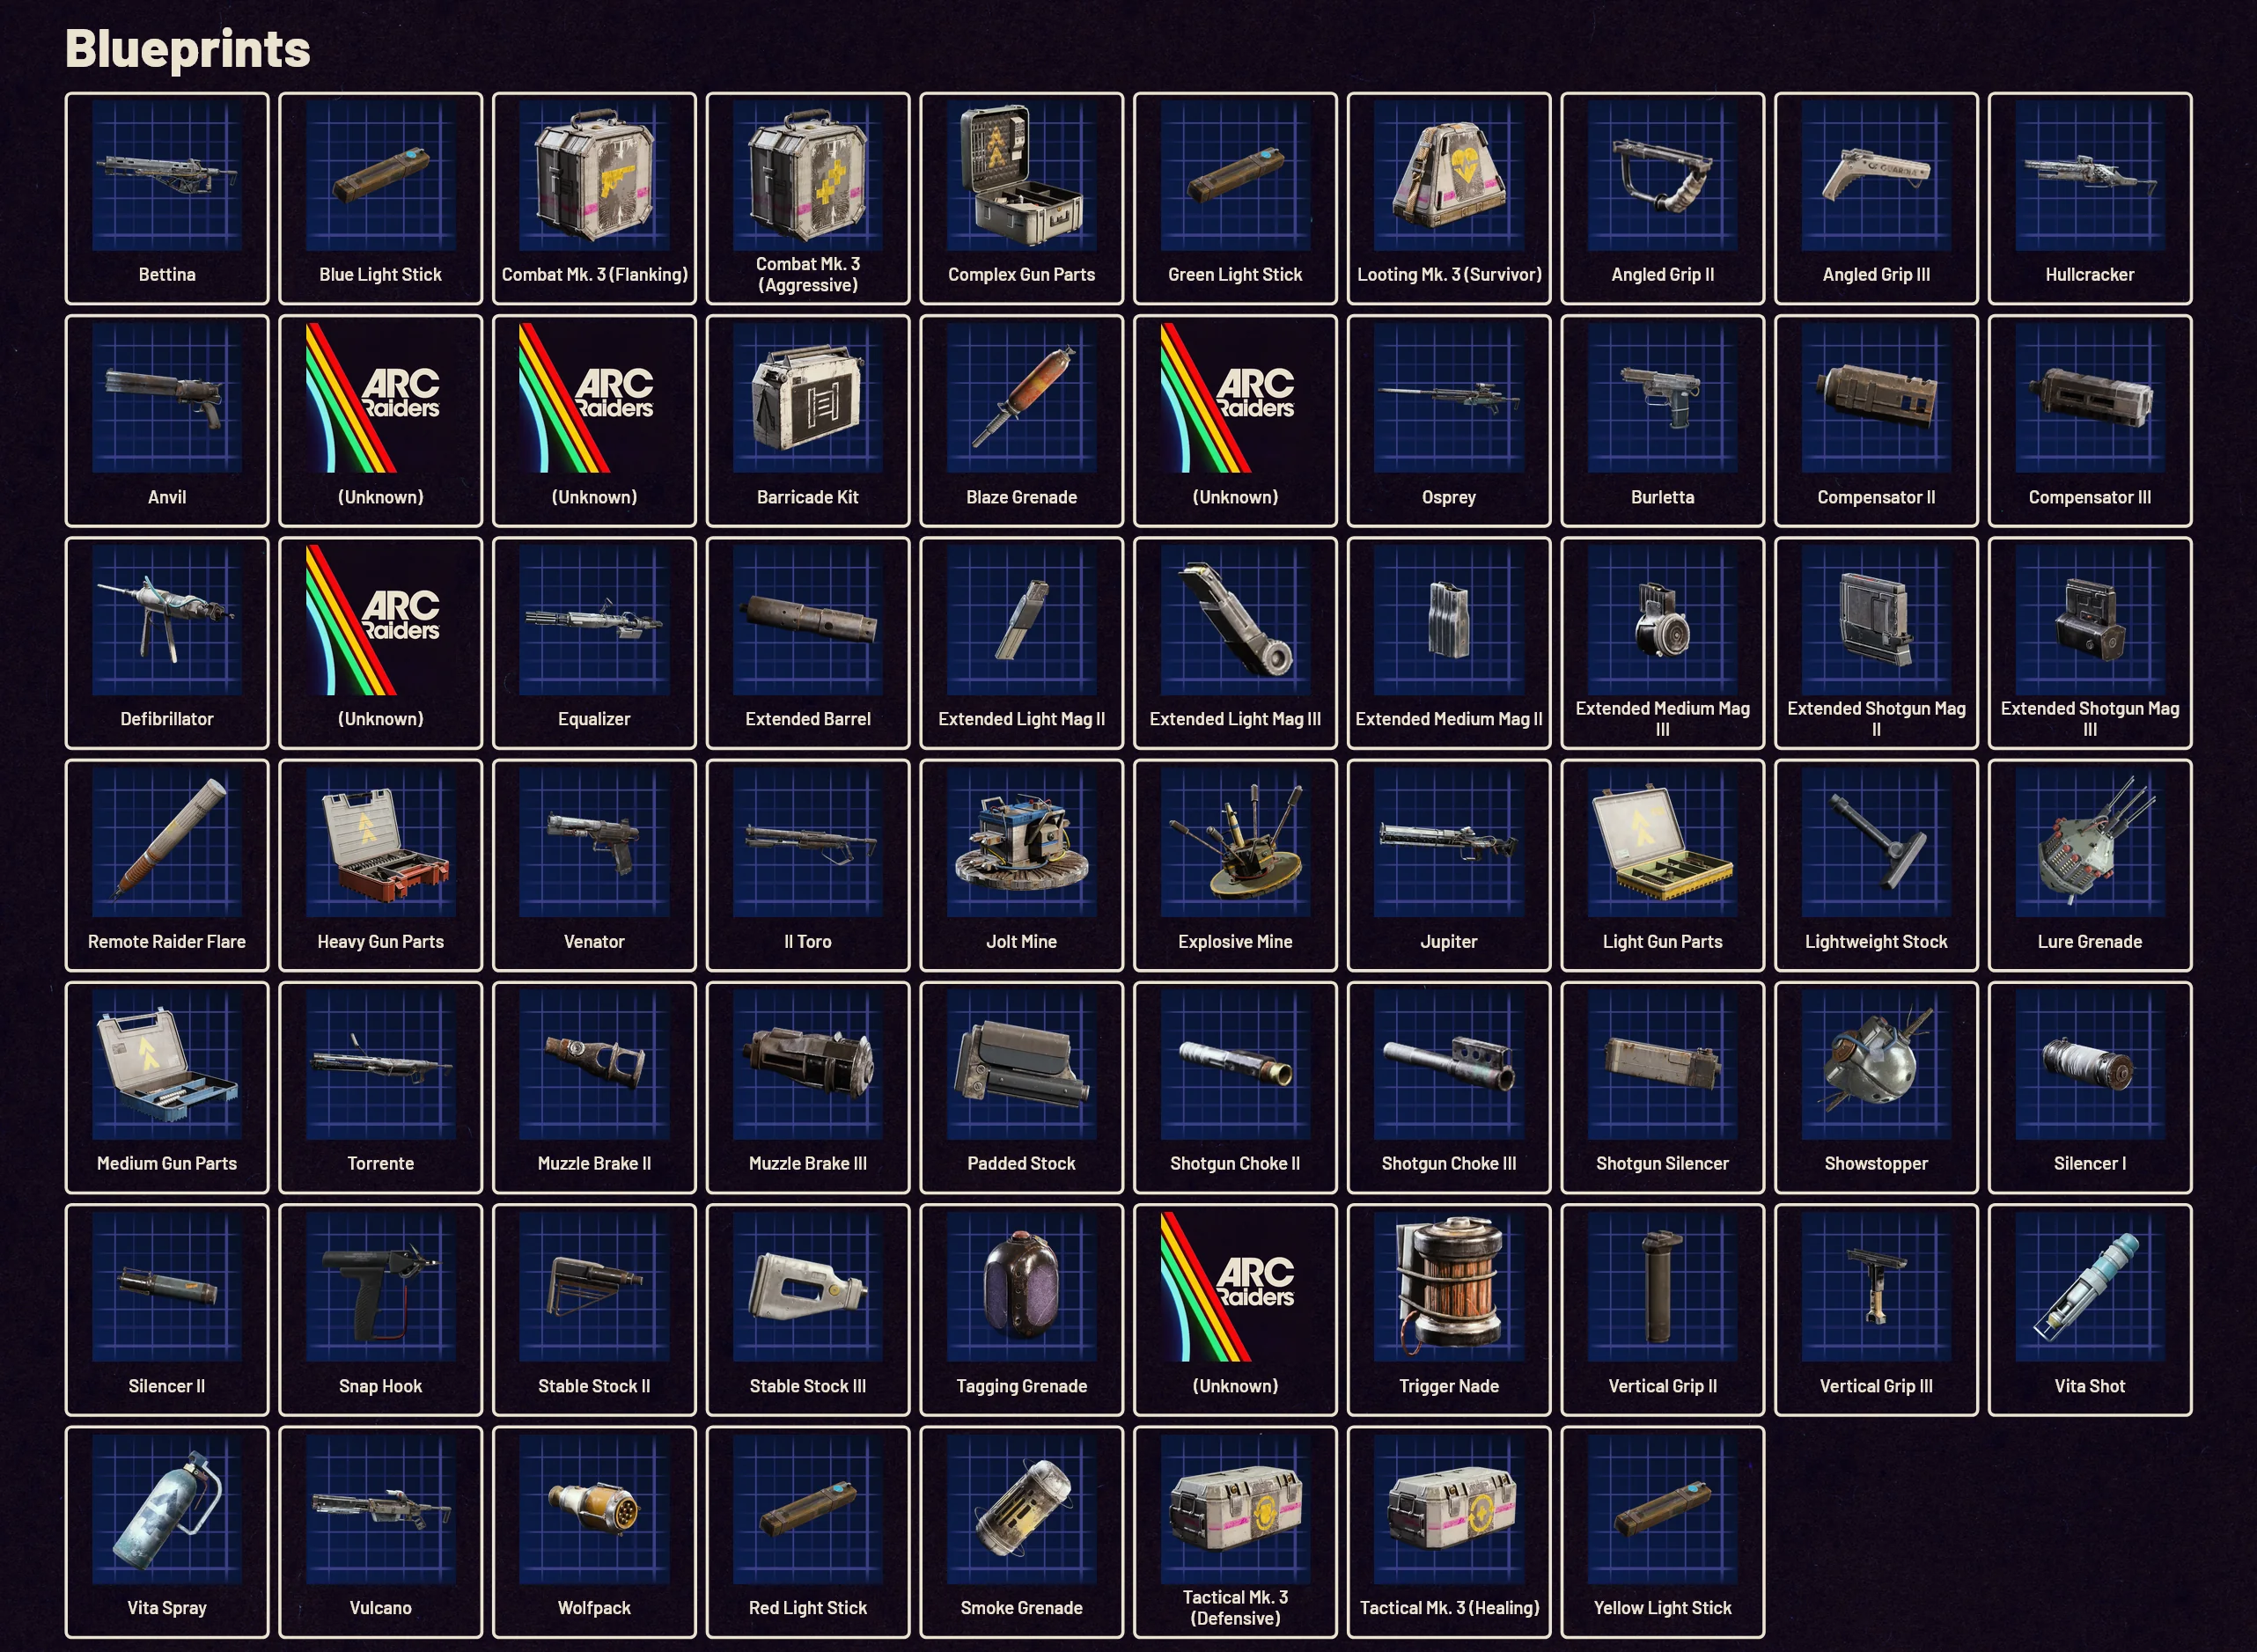
Ferro
Upgrade Ferro to Level 4 for one of the cheapest but still effective options.
Pros: Reliable, good penetration for its cost.
Cons: Only 1 shot per reload, and it has a long reload time, which can be punishing against Bastion.
Anvil
Arguably the best weapon in the game right now.
Pros: High damage revolver capable of one shotting most ARCs, 6 rounds per magazine, extremely versatile.
Always go for Anvil if you unlock the blue print, or purchase from NPCs if available.
Cons: None significant; the weapon is meta defining.
Hullcracker
A special pump action 40mm grenade launcher using launcher ammo.
Pros: Extremely high burst damage, great for quick takedowns.
Cons: Very expensive and risky losing a Hullcracker can hurt your progress much more than losing Ferro or Anvil.
Where to Find Bastions (All Maps)
Bastions spawn across all maps, but some locations are more reliable than others. Knowing where to go drastically reduces time wasted hunting.
1. Dam Battlegrounds

Northwest of Water Treatment Control
Hydroponic Dome Complex Area
Southwest of Power Generation Complex
This map tends to spawn fewer high-tier enemies, so Bastions appear less frequently. If you stumble upon one here, make the most of it. Don’t rush; patience is key.
2. Buried City
Old Town Area
East of West Village
Buried City offers moderate spawn consistency. Buildings provide elevation and cover, allowing you to safely pick off Bastion weak points while minimizing risk.
3. Spaceport
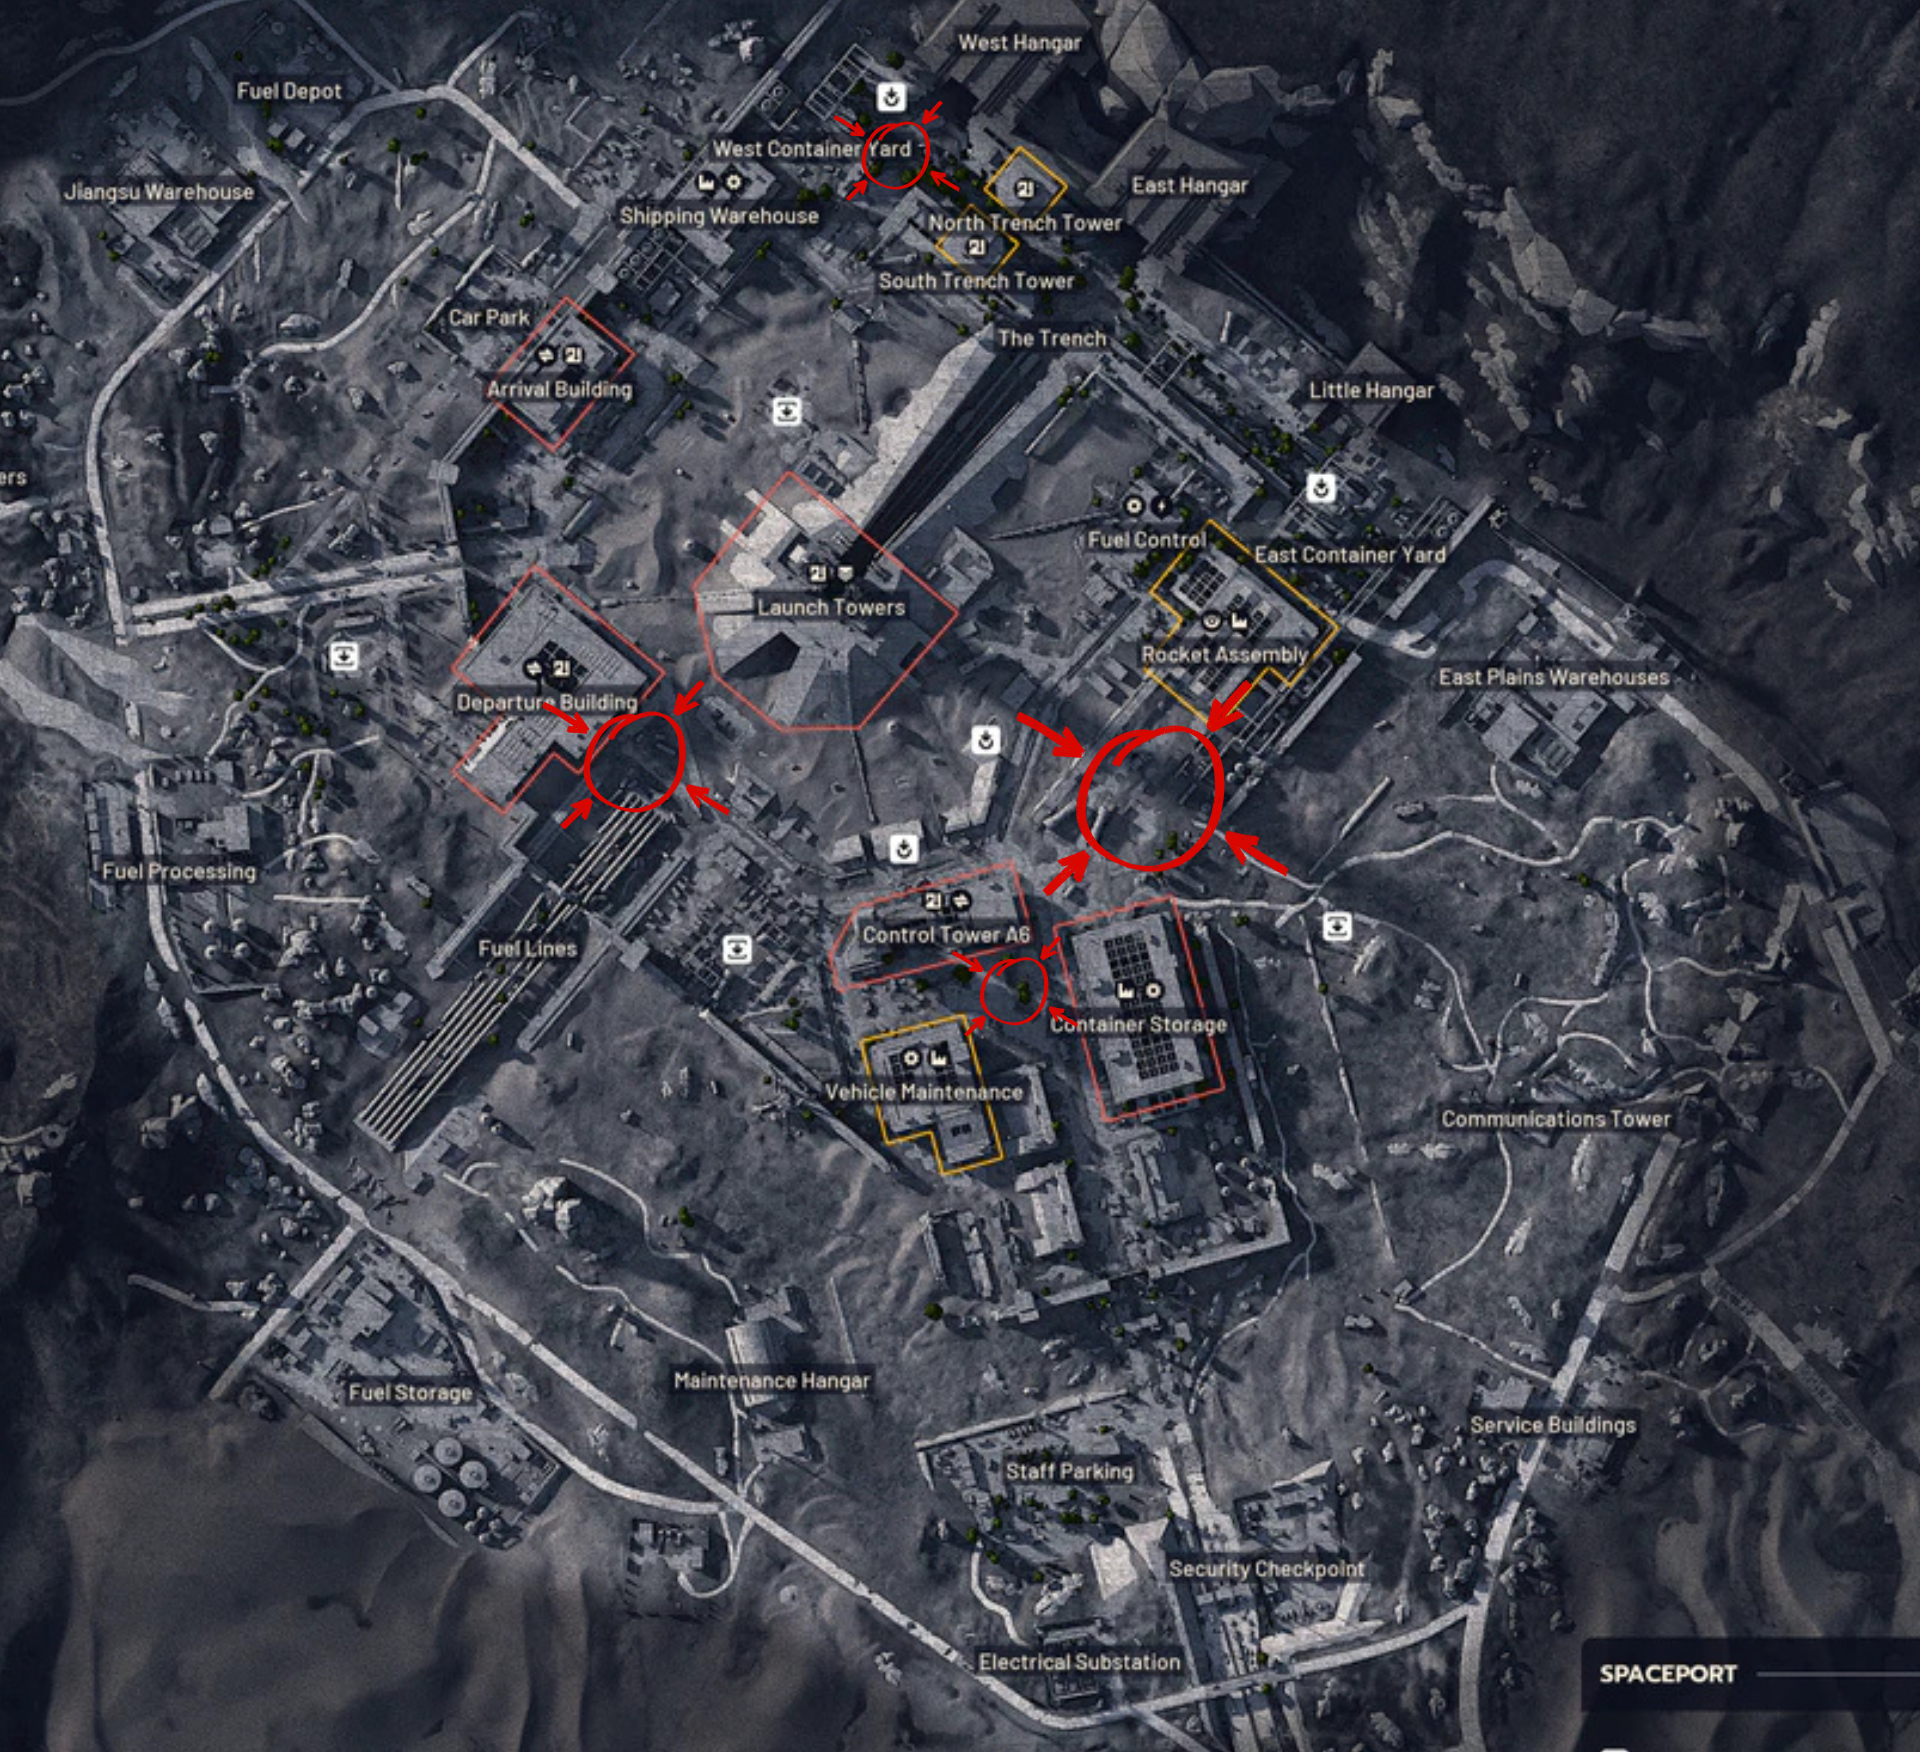
South & East of Control Tower A6
Southeast of Rocket Assembly
Southwest of Launch Towers
East of Shipping Warehouse
The multiple spawn points make Spaceport a great location for hunting Bastions. Use structures around Rocket Assembly for cover, taking advantage of choke points to control engagement.
4. The Blue Gate
North of Ancient Fort
West of Warehouse Complex
This map has consistent Bastion spawns. Garages, warehouses, and narrow pathways let you funnel them and control the fight even if you’re solo.
5. Stella Montis
Landing Bay
Hands down the most reliable spawn in the game. Upper-level vantage points allow safe long-range attacks while Bastions struggle to reach you. If you want consistent Bastion Cells, Stella Montis is your best friend.
Pro Tip: Always scout ahead and plan your escape route. Even if you’re confident in your DPS, Bastions punish overconfidence with their minigun bursts.
Bastion Loot Table
Main Debris Loot
Item | Description |
|---|---|
ARC Alloy | Basic crafting material |
ARC Powercell | Early upgrade resource |
ARC Motion Core | Rare mid-tier upgrade component |
ARC Circuitry | Electronics crafting material |
Advanced ARC Powercell | High-value upgrade item |
Mechanical Components | General crafting material |
Medium Gun Parts | For medium weapons |
Bastion Cell | Essential for Gear Bench Level 3 |
Medium Ammo | Refill for medium weapons |
Small Debris Loot
Item | Description |
|---|---|
ARC Alloy | Common drop |
ARC Powercell | Early resource |
ARC Motion Core | Rare bonus drop |
Mechanical Components | Crafting material |
Bastion Cell | Gear Bench upgrade resource |
Boss Kill Service for Bastions
Struggling with Bastion farming? Professional ARC Raiders Boss Kill Services are a lifesaver. Experienced Raiders can take down Bastions safely and efficiently, letting you focus on collecting high-value loot and Bastion Cells without risking gear or raid failure. This service is perfect for solo players or groups who want guaranteed success without wasting time or resources.
Final Words
Bastions may seem like terrifying top tier ARC machines, but with the right strategies, weak point targeting, and weapon loadouts, they become manageable and highly farmable.
Best Maps: Stella Montis and The Blue Gate for consistent spawns.
Pro Tips: Engage from cover, use stun windows, and rely on explosives or Hullcracker for quick kills.
Advanced Cheese: Trigger Grenade nukes and stealth methods save time and minimize risk.
Optional Fun: Climb on Bastions for melee or weapon attacks and earn achievements.
Combine all these techniques, and Bastion farming becomes efficient, safe, and even enjoyable. Master these strategies, and you’ll be dominating raids like a true top-tier Raider.
You might also like